

How to Mount Solar Panels on a Tile Roof?
Introduction
Mounting solar panels on a tile roof needs careful planning. The roof must support the system, and the panels need a strong fixing method. With the right Solar Equipment, you can create a safe and stable solar setup without harming the roof tiles.
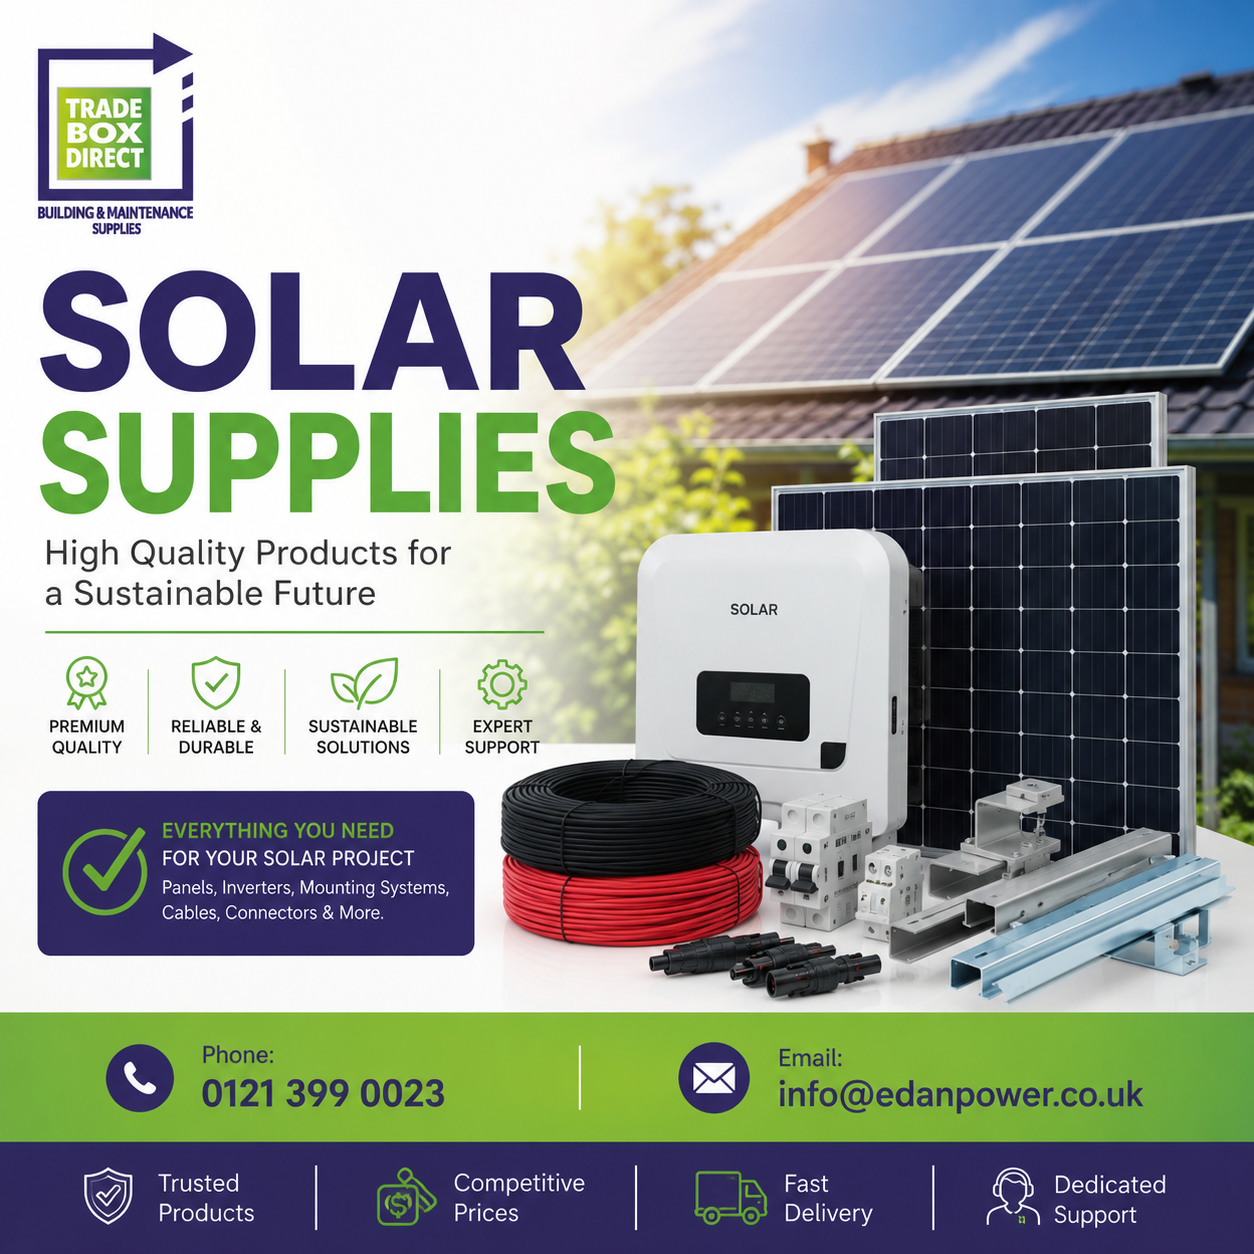
A tile roof is common in many homes. However, its surface can be fragile. Therefore, installers must use suitable roof hooks, mounting rails, brackets, and fixings. The aim is simple: hold the panels firmly while protecting the roof from leaks and damage.
What Solar Equipment Do You Need?
Before starting, check that you have the correct Solar Equipment for the roof type. A typical tile roof system may include:
- Solar panels
- Solar roof hooks
- Tile roof brackets
- Solar mounting rails
- Rail connectors
- Mid and end clamps
- Stainless steel fixings
- Flashing or weatherproofing materials
- Cable clips
- Earthing components
- Solar panel mesh clips
- Bird mesh for solar panels
The exact parts depend on the roof design, tile shape, panel size, and mounting system. Therefore, always follow the instructions supplied with your chosen products.
Step 1: Check the Tile Roof
First, inspect the roof before fitting any Solar Equipment. Look for cracked, loose, or damaged tiles. Check the roof structure as well. The rafters or other strong structural points must be able to carry the added load.
You should also check the roof pitch and panel position. A clear area with good sunlight usually gives better results.
If the roof needs repair, complete the repair before installing the panels. This helps prevent future problems and makes the installation safer.
Step 2: Find the Roof Rafters
Solar panels should not simply be fixed to the tiles. The mounting system needs a strong structural fixing point.
Usually, installers locate the roof rafters beneath the tiles. The position of each rafter should be marked before the roof hooks are fitted.
Good planning is important here. Accurate measurements help keep the rails straight and ensure that the panels sit in the correct position.
Step 3: Fit the Solar Roof Hooks
Next, carefully lift or adjust the tiles around the fixing points. Then, position the solar roof hooks so they connect securely to the roof structure.
A suitable hook should sit correctly without placing too much pressure on the tile. If a tile does not allow enough clearance, it may need careful adjustment or replacement with a compatible tile.
Never force a hook against a tile. Excess pressure can cause cracks.
The hook is one of the most important parts of the Solar Equipment because it transfers the panel load to the roof structure.
Step 4: Install the Solar Mounting Rails
Once the hooks are secure, attach the mounting rails. These rails provide the base for the solar panels.
The rails should remain level and properly aligned. Use the adjustment points on the mounting system to make small corrections.
After positioning the rails, tighten the fixings according to the manufacturer’s instructions. Do not guess the tightening force. Correct fixing helps the system stay stable during strong winds.
Solar mounting rails also make panel installation easier because the panels can be clamped onto a prepared framework.
Step 5: Attach the Solar Panels
Now the panels can be placed on the rails. Carefully lift each panel onto the mounting structure. Avoid dragging panels across the roof because this can damage the panel or roof surface.
Use the correct clamps for the panel frame. Mid clamps normally hold panels together, while end clamps secure the outside edges.
The panels should have the correct spacing. Keep enough room for the clamps and allow the system to follow the manufacturer’s installation requirements.
At this stage, most of the main Solar Equipment is in place.
Step 6: Protect the Roof From Water
Water protection is another key part of tile roof installation. The roof covering must continue to shed water after the mounting system is fitted.
Check each hook area carefully. Tiles should sit correctly around the fixing points. Flashing or other approved weatherproofing methods may be needed, depending on the mounting system.
Do not drill unnecessary holes through roof tiles. A poor fixing method can create leaks that may only become visible after heavy rain.
Step 7: Manage Solar Cables
After the panels are mounted, cables should be secured neatly. Use suitable cable clips and keep cables away from sharp edges.
Loose cables can move in the wind and may rub against the roof or mounting structure. Therefore, good cable management improves the long-term condition of the installation.
The electrical work should be completed by a suitably qualified professional. Solar systems can produce dangerous electrical voltages, even when the system looks simple.
Solar Panel Mesh Clips and Bird Mesh for Solar Panels
A tile roof solar system has another issue that many homeowners overlook: birds.
The open space below solar panels can provide an attractive nesting area for birds. Birds may bring leaves, twigs, and other material under the panels. This can create mess and may interfere with cables or roof drainage.
That is where solar panel mesh clips can help.
These clips are designed to hold protective mesh around the edge of the solar panel array. The mesh creates a barrier while allowing air to move around the panels.
Bird mesh for solar panels is another useful category to consider after the panels are installed. It helps prevent birds from getting underneath the panels without requiring changes to the main mounting structure.
When choosing solar panel mesh clips, make sure they suit the panel frame and mesh type. Clips should hold the mesh securely without damaging the panel.
Similarly, bird mesh for solar panels should be strong, weather resistant, and suitable for outdoor use. Proper installation creates a neat barrier around the panel edges.
These accessories work alongside the main Solar Equipment rather than replacing any structural mounting component.
Why Use the Right Solar Equipment?
Choosing suitable Solar Equipment improves the safety and reliability of a tile roof installation.
A complete system should match the roof, panel, and local weather conditions. For example, a windy location may need careful attention to fixing points and structural calculations.
Quality mounting parts also make maintenance easier. If the rails, hooks, and clamps are correctly installed, future inspection can be simpler.
At the same time, solar accessories such as solar panel mesh clips and bird mesh for solar panels can help protect the area beneath the panels.
Common Mistakes to Avoid
Several mistakes can cause problems during installation:
- Fixing directly into weak roof tiles
- Using unsuitable roof hooks
- Skipping a roof structure check
- Over-tightening fixings
- Leaving cables loose
- Blocking roof drainage
- Ignoring cracked tiles
- Using unsuitable mesh clips
- Installing bird protection without checking the panel frame
- Mixing incompatible mounting components
Therefore, plan the installation before buying your Solar Equipment.
Can You Mount Solar Panels Yourself?
Some homeowners may want to install the mounting hardware themselves. However, solar panel installation involves roof work, structural fixing, and electrical connections.
Working on a roof also creates a fall risk. For this reason, professional installation is often the safest option.
If you are buying Solar Equipment for a project, check the manufacturer’s instructions and confirm that every component is compatible before installation.
FAQs
Can solar panels be installed on a tiled roof?
Yes. Solar panels can be installed on many tiled roofs using suitable roof hooks, mounting rails, brackets, and clamps. The fixing method must suit the roof structure and tile type.
Do solar panels damage roof tiles?
They should not when the correct mounting method is used. Installers must avoid putting excessive pressure on tiles and should replace damaged tiles before installation.
What are solar panel mesh clips used for?
Solar panel mesh clips hold protective mesh around the edges of a solar panel array. They help stop birds and other animals from getting underneath the panels.
What is bird mesh for solar panels?
Bird mesh for solar panels is a protective barrier fitted around the panel edges. It helps prevent birds from nesting beneath the panels.
Do I need special Solar Equipment for a tile roof?
Yes. Tile roofs usually need suitable roof hooks or tile brackets, mounting rails, clamps, fixings, and weatherproofing parts. The exact equipment depends on the roof and panel system.
Can bird mesh replace proper solar mounting?
No. Bird protection is an accessory. It does not replace structural Solar Equipment such as roof hooks, rails, clamps, or brackets.
Final Thoughts
Mounting solar panels on a tile roof requires good planning and the right components. Start by checking the roof structure. Then, locate the rafters, install suitable roof hooks, attach the mounting rails, and secure the panels with approved clamps.
Afterward, pay attention to cables, roof protection, and bird prevention. Solar panel mesh clips and bird mesh for solar panels can provide useful protection around the panel edges.
Most importantly, choose compatible Solar Equipment and follow the manufacturer’s instructions. When the system is planned and installed correctly, solar panels can provide a strong, reliable, and long-lasting solution for a tile roof.
